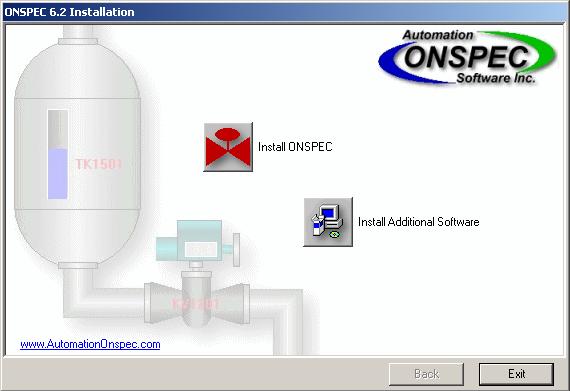
ONSPEC is supplied with an automatic installation program. Dialog boxes allow you to specify the directories and paths you would like for your ONSPEC installation. To begin the installation process, place the CD into the CD Drive. The Install Shield Wizard should start and show the following screen:


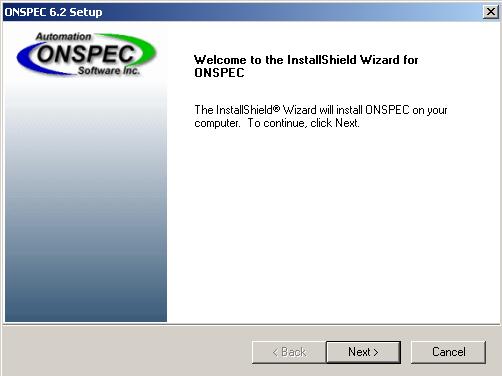
After the InstallShield Wizard is loaded, the Welcome screen appears. To continue with the installation, press the Next button. To exit the installation, press the Cancel button.
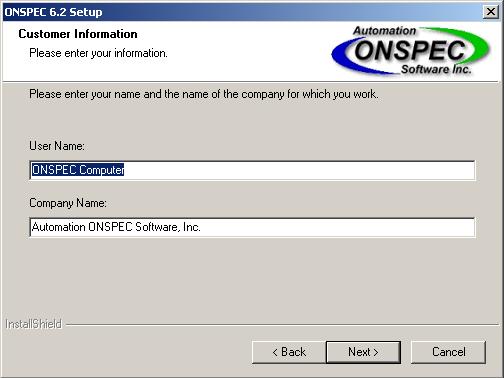
The next screen asks you to enter your User Name and Company Name.

The License Key screen follows.
Registered Users are required to enter a 16-digit key. Press the Next button to continue. If the software is being installed for evaluation purposes only, press the Continue Unregistered button. A fully functional version of the software will be loaded, however, it will time-out after two hours.
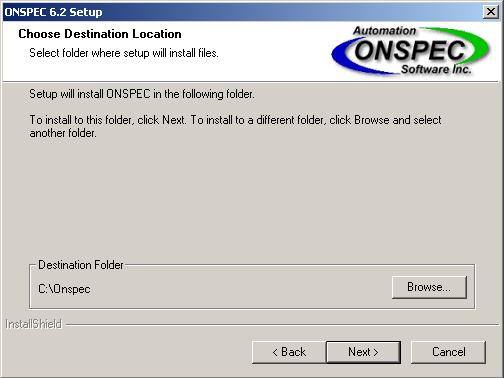
The following screen allows you to specify the destination location for the ONSPEC files to be copied. The default location is C:\Onspec\. A browse button is available to assist in installing the software in a location other than the default. If the information is correct, press the Next button.
If you presently have ONSPEC installed on your system you may receive a message warning that you may not have enough room on your specified drive to install ONSPEC. Generally, if you currently have ONSPEC installed you will be able to install this version. Click on Next to continue.
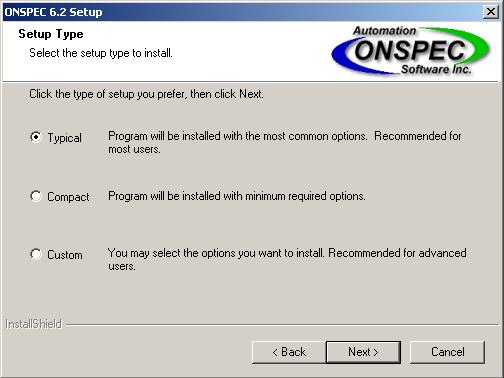
The next screen allows you to specify the Setup Type. A brief explanation of each option follows:
Typical Installation
The typical installation installs the application program, basic configuration, demonstration and the quickstart files.
Compact installation
The compact installation installs the application program files and basic configuration files only.
Custom Installation
The custom installation brings up a dialog box allowing you to select the components you wish to install.
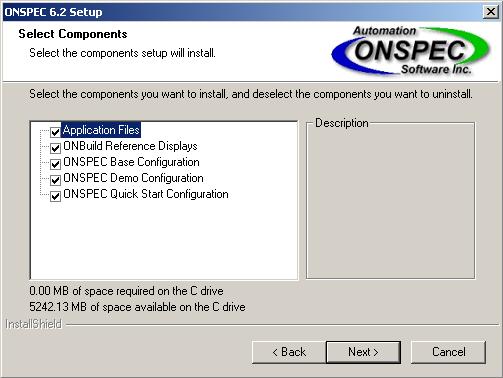
If Custom Installation was selected, the following screen appears allowing you to select which components to load:
ONBuild Reference Displays
Displays used by ONBuild in reference mode. The displays consist of a Smart-Symbol reference library for easy symbol viewing and copying.
ONSPEC Base Configuration
The Base Configuration consists of Displays 1 and 990-999. Displays 990-999 are system displays that provide you with system status information, as well as displays for alarm history and summary.
Also, some files that support other software functions are installed with the Base Configuration; for example, ALARMS.IBM, TAGS.IBM, TRENDS.IBM, PIDS.IBM, and ONSPEC.INI.
ONSPEC Demo Configuration
The ONSPEC demonstration files consist of several demonstrations targeting the chemical, beverage, glass, pharmaceutical and paper industries. You can use these displays to learn about ONSPEC, how displays and formats work together to show data updates, and how graphics are used to simulate real-time value changes.
ONSPEC Quick Start Configuration
The ONSPEC Quick Start consists of a demonstration targeting individuals wanting to get a sample of how to work with ONSPEC. Exercises are very focused on the ONSPEC and ONBuild package. You can use these displays to learn about ONSPEC, how displays and formats work together to show data updates, and how graphics are used to simulate real-time value changes.
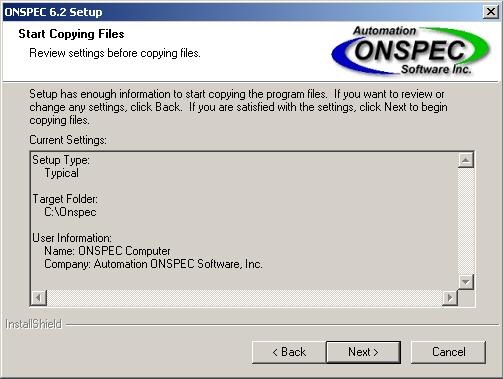
The next screen to appear displays the current settings and informs you that Setup has the information it needs to start copying files. If you are satisfied with the current settings, press the Next button to begin copying the program files. If you need to make changes to the setup type, location or user information press the Back button until you see the screen that contains the information that needs to be changed.
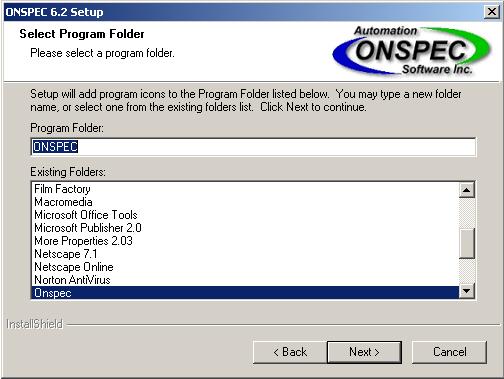
Select a folder for program icons.
The following screen allows you to check your setup selections before copying files.
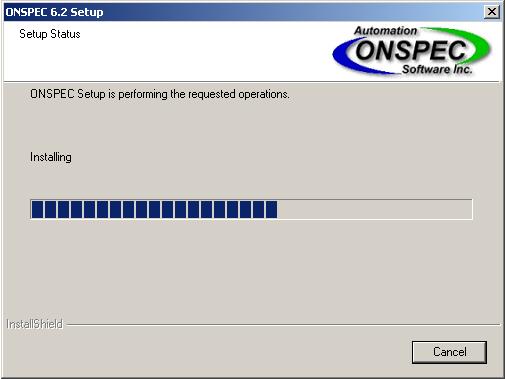
The Setup Status screen shows the ONSPEC files being copied to your system. A progress bar indicates the files being copying and continues to refresh as the installation progresses.
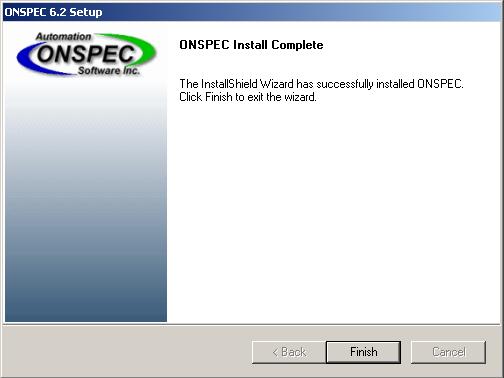
A final screen appears when the installation is complete.
You can now start ONSPEC by selecting the icon from the Windows Taskbar. See Starting ONSPEC section for more details.